 ABC Teco
Connect supported devices through the ABC Teco domain and receive attendance securely.
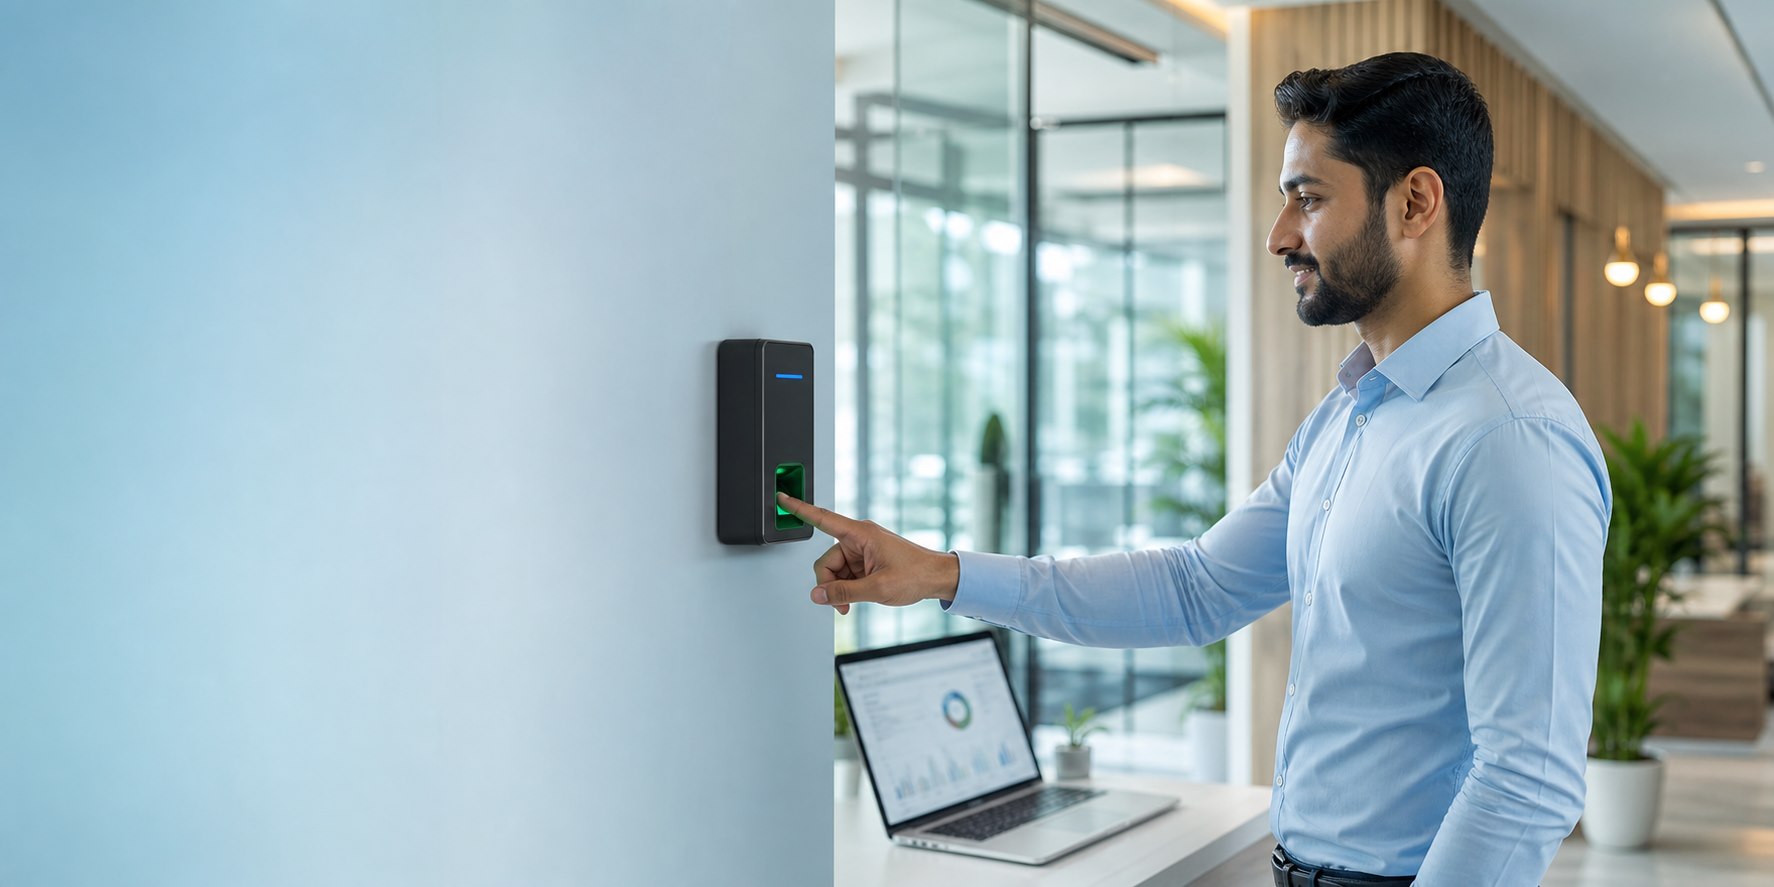
Attendance that stays connected
Biometric attendance for cloud and local networks
ABC Teco connects ZKTeco-compatible devices, employees, departments, shifts, and live attendance in one secure workspace.
About ABC Teco
One attendance platform for every workplace
We help organizations manage biometric devices, employee attendance, departments, reporting, and multi-company operations from a simple web application.
Services
Designed for reliable daily operations
Install for clients inside their local network when devices cannot access the internet.
Manage employees, departments, devices, shifts, live punches, and reports.
Basic, Gold, Diamond, and custom limits for every client company.
Application Manual
Application UI and operating guide
Use this guide to prepare your workspace, connect biometric terminals, map employees, and complete daily attendance operations.
Open the Client Login page and enter the account supplied during onboarding.
Complete the company profile, departments, devices, employees, and shifts.
Check device status and review incoming punches from the dashboard.
Review daily attendance and export reports for payroll or management.
1 Sign in and navigate the application
Select Client Login, enter your username or email and password, then choose Sign In. The application opens the dashboard assigned to your account.
- Use the left sidebar to open Dashboard, Company Profile, Departments, Devices, Employees, Shifts, and Reports.
- The top bar shows your company and account. Use its actions to change theme, view notifications, or sign out.
- On a phone or tablet, use the Menu control to open or close the sidebar.
- Always sign out on a shared computer.
2 Read the dashboard
The dashboard is the daily overview of attendance activity and connected terminals.
- Attendance metrics: review present, absent, late, and total attendance figures.
- Device status: confirm which terminals are online or offline before processing attendance.
- Recent activity: review the latest punches and operational events.
- Refresh or Sync Devices: request current information when you need an immediate update.
3 Update the company profile
Open Company Profile to maintain the information shown in your workspace.
- Enter the company and legal names, phone, email, website, city, and address.
- Upload a PNG, JPG, WebP, or SVG logo no larger than 2 MB.
- Select Save Profile. Reload or sign in again if the old company name remains in the top bar.
The same screen displays current device, employee, and department usage against your subscription limits.
4 Create departments
- Open Departments and select Add Department.
- Enter a clear name and unique short code, such as Human Resources / HR.
- Select the branch that owns the department and set it Active.
- Select Save Department. Use Edit for corrections or Delete when the department is no longer required.
The application prevents new departments when the company reaches its subscription limit.
5 Register and operate biometric devices
- Open Devices and select Register Device.
- Enter the terminal name, exact serial number, branch, IP/host, port, device number, time zone, SDK type, connection type, and polling interval.
- For an ADMS/domain terminal, the serial number must exactly match the physical terminal.
- Save the device, select it in the table, then use Test, Sync Time, Download Logs, or Restart.
- Online: the terminal has recently responded or sent an ADMS heartbeat.
- Offline: a direct connection test failed or no ADMS heartbeat arrived for three polling intervals, with a minimum timeout of 90 seconds.
- Never: the terminal has not completed a successful connection or synchronization.
6 Add and map employees
- First enroll the person on the biometric terminal and note the terminal User ID or PIN.
- Open Employees and select Add Employee.
- Enter a unique employee code, full name, designation, branch, department, device, shift, and the exact Device User ID.
- Save the employee and confirm that the correct device appears in the employee table.
The Device User ID is the key link between a terminal punch and an employee. If it is incorrect, the punch is recorded as unmapped.
7 Configure shifts and attendance rules
Open Shifts to create or update working schedules. Configure start and end times, grace minutes, late limits, minimum full-day minutes, and overtime thresholds, then assign the correct shift to each employee.
When a punch arrives, ABC Teco matches the terminal serial number and Device User ID, stores the punch time, and updates the employee's attendance summary.
8 Review and export reports
- Open Reports and select the report date and branch.
- Review check-in, check-out, late, early-leave, overtime, total minutes, and attendance status.
- Download the report for payroll, management review, or record keeping.
- Correct employee/device mappings before regenerating a report when punches are missing.
9 Subscription usage and limits
Your plan controls the maximum number of active records you can add:
- Basic: 5 devices, 20 employees, and 5 departments.
- Gold: 10 devices, 50 employees, and 8 departments.
- Diamond: 20 devices, 100 employees, and 12 departments.
- Custom: limits agreed for your organization's requirements.
If a limit is reached or a subscription is inactive, contact ABC Teco to update the plan.
Cloud / Domain Connection
Connect through abcteco.com
- Register the terminal and its exact serial number in ABC Teco.
- Set the device Cloud/ADMS Server to api.abcteco.com.
- Use HTTPS port 443 when supported.
- The endpoint is https://api.abcteco.com/iclock/cdata.
- Confirm the device becomes Online and perform a test punch.
Client Local Network
Connect inside the workplace LAN
- Install the ABC Teco API on a computer with a fixed LAN IP.
- Allow device-network access to TCP port 8080.
- Set the terminal Server IP to that computer's LAN IP and port 8080.
- Use http://SERVER-LAN-IP:8080/iclock/cdata.
- Keep port 8080 private; use VPN or the HTTPS domain for internet access.
Recommended daily operating checklist
- Confirm all expected devices are Online at the start of the workday.
- Review recent punches and resolve unmapped employee IDs.
- Check absent, late, and missing-punch records before finalizing attendance.
- Export or verify the daily report after the last shift.
- If a device remains offline, check power, network, server IP/port, serial number, and firewall settings.
Contact Us
Plan your attendance deployment
Contact ABC Teco for subscriptions, device configuration, cloud hosting, or local-network installation.